A practice that is becoming swiftly popular and integral in the software development process is Continuous Integration (CI). It is a software engineering practice where individual changes are immediately tested and integrated to a larger repository. It helps developers seamlessly detect bugs at an early stage, as each check-in is verified by an automated build. There are many CI servers available in the industry such as Jenkins, Codeship, TravisCI, SemaphoreCI, CircleCI, Bamboo, Teamcity and more, Jenkins being one of the most popular.
Jenkins is an open source, cross-platform automation serve that helps to automate the software deployment process.
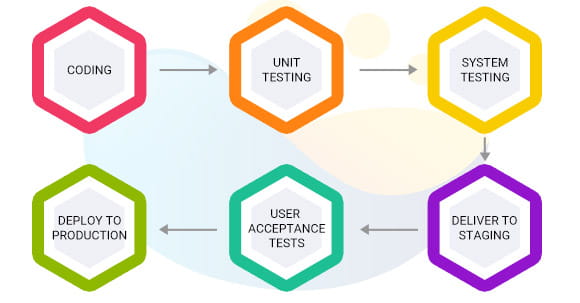
Continuous Deployment ensures that the entire process shown above is automated. Jenkins achieves this through various plugins. Configuration is offered via both console commands and GUI interfaces. The predominant functionality of Jenkins is to execute, based on time or particular event triggers, a predefined set of steps. Jenkins observes the execution of these steps and in case of a failure, terminates the process. Jenkins notifies build successes and failures.
This blog deals with setting up a minimal Continuous Integration environment with Jenkins. It covers Jenkins installation, followed by creating Jenkins job and configuring it. We can run the Jenkins server in two ways:
Follow this link https://www.edureka.co/blog/install-jenkins/ for Jenkins installation. After a successful installation, we will be able to access Jenkins using this URL http://your_ip_address:8080.
Once Jenkins is unlocked, it will navigate to the Plugins installation page. After we install the base plugins, the below page will be displayed.

Follow the below link to install or configure plugins.
Manage Jenkins -> Manage Plugins link.
From this location, we can access tabs plugins updates, available plugins, installed plugins and advanced. Search the plugin you want to install and select it from the available list. It is also possible to install the plugins with or without Jenkins restart.
By clicking on “New Item” which is present in the left side panel, we can initialize “create new job” process. In the next page, enter a suitable name for the project and select from the different categories of projects such as Freestyle project, Maven project and more. If you wish to copy the configuration of some other projects, give the existing project name in “Copy From” text box.
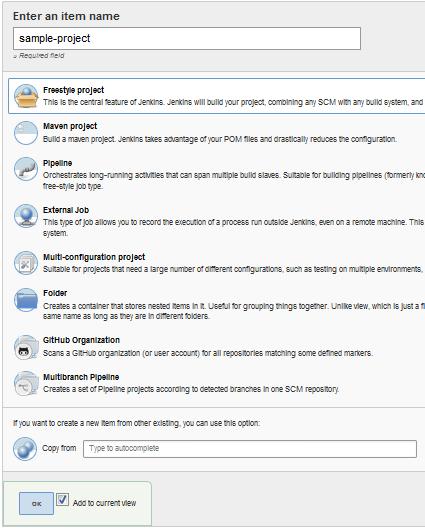
After completing, click ok button. Swift navigation to the below page occurs.
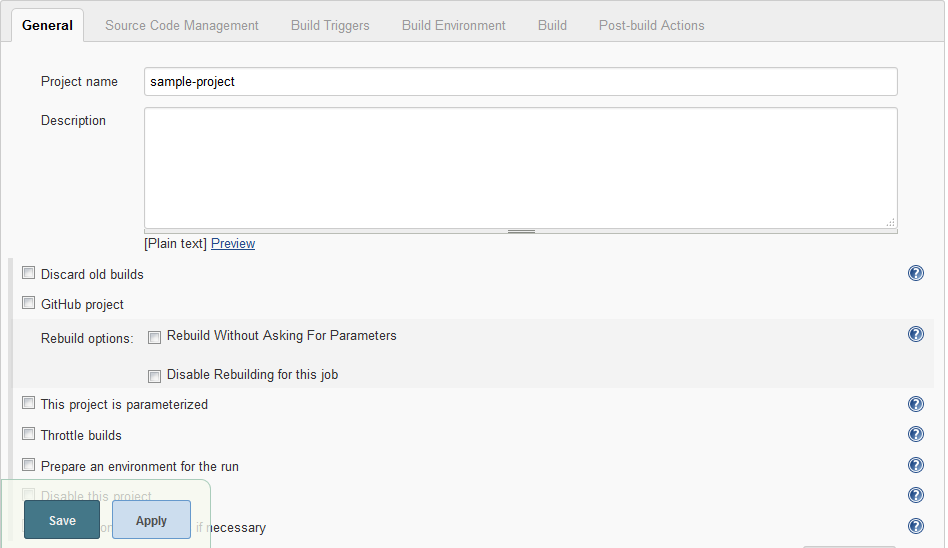
General: Give a description for the newly created job and complete the configurations under this section.
Source code management: We should specify the location to retrieve the source code. We can use private or public repository URL and provide credentials to access the repository.
Build Triggers: In this section, specify when and how your build should be triggered.
Build: We can add different build steps like Execute shell, Invoke ant, Execute windows batch command etc. using the Add build step button under this section.
Click Save to finish the job. Click Build Now on the job page to analyze whether the job works as expected.
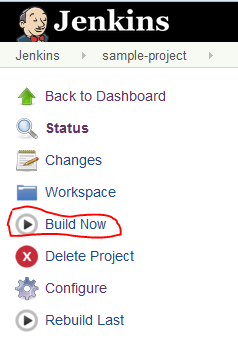
In the event of a successful job, the browser will display the job in blue or green depending on the configuration. The job will be shown in red if a failure occurs. To view the log file, click on the job and on console output.
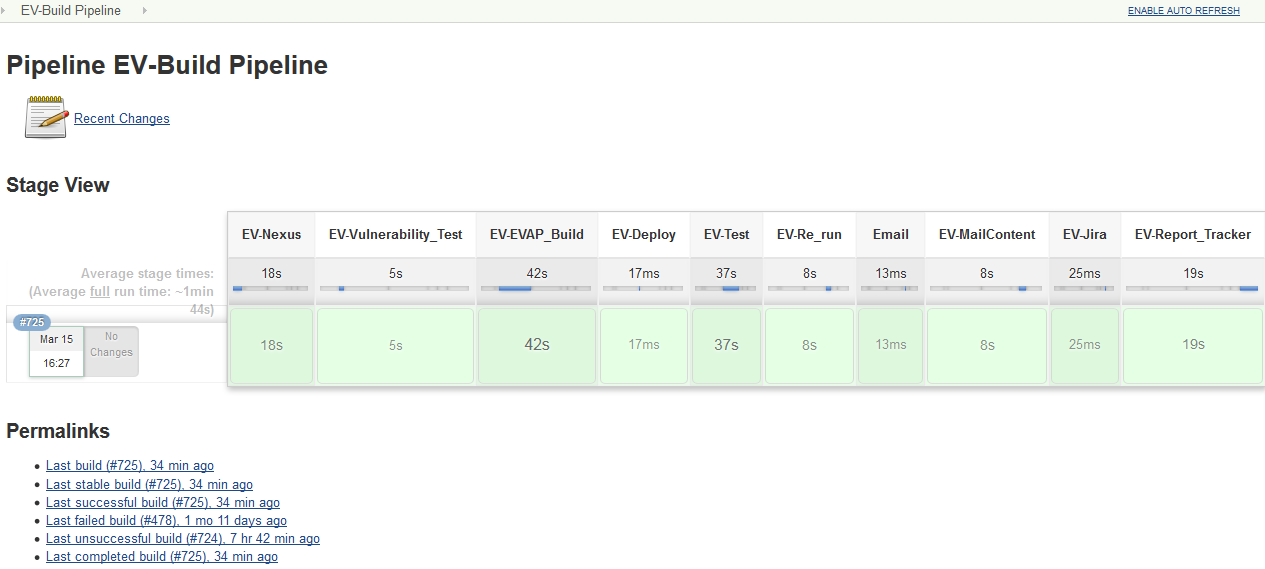
Below is the sample flow of pipeline job execution. After a successful build, you can deploy it to another system. Then, tests can be run on the newly deployed machine.
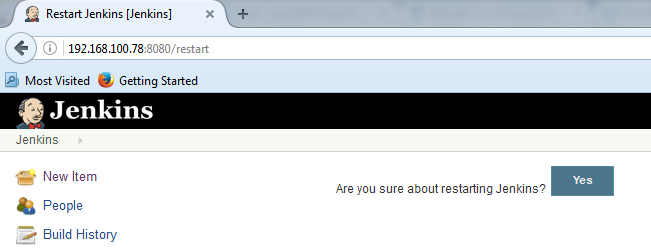
We can manually restart Jenkins by adding restart as URL parameter.
(jenkins_url)/restart
To create a backup of your Jenkins jobs and setup, just install the plugin ThinBackup. Then go to Manage Jenkins -> ThinBackup link.
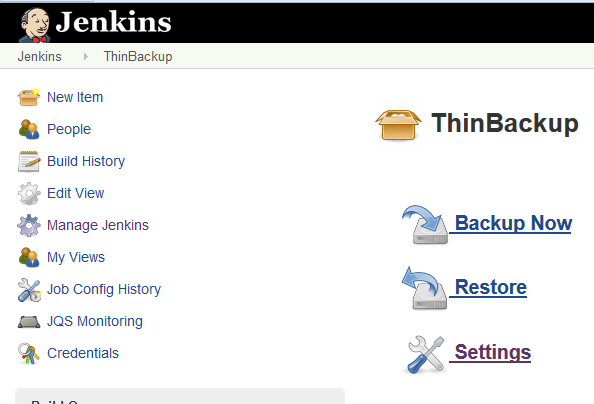
We can specify the configuration details for fetching a backup.

Hope you now have a clear picture of creating a job in Jenkins, executing the job, obtaining results and taking a backup.